DIY lithium batteries: how to build your own battery packs
Jul 16, 2019 Pageview:2285
Batteries are becoming more and more useful in the world today. With the world creating awareness about pollution being cause by fossil fuel, sooner or later renewable energy will be the only source of energy. The world is slowly but surely shifting towards being fully electric.
Among the many battery types today, lithium ion is the best and has the best promising chemistry. Check most battery packs in laptops, RC toys, drones, medical devices, power tools, e-bikes and even electric vehicles and you will find lithium batteries in them. And the 18650 makes the most mature Li-ion formats on the market. They are produced with the best quality and high volume to give users better cost per Wh.
Can we DIY own lithium batteries·
Batteries come in specific voltage and capacity. There are some that have smaller capacity, while others carry more voltage. In simple terms, the bigger the batteries, the higher the voltage.
However, not all batteries will offer the best power needs for your device. Many devices will require more than one battery to perform. But there is no single battery that holds s much power as your device may require.
Take for instance when building an electric bike. It will be very hard to get a single battery to run your device effectively. It is simply impossible for the battery to produce enough power on their own.
But that does not mean you have to give up on your project. The best option you have is build a good battery pack.
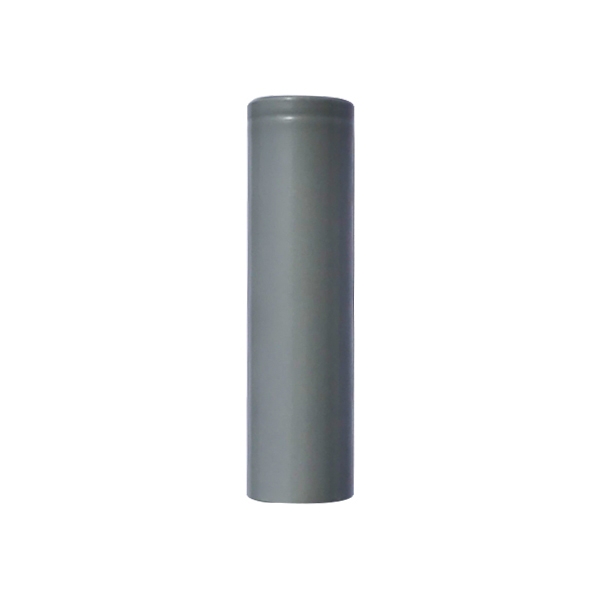
Lithium batteries, as discussed above, are the best battery technology in the word today. And the 18650 (18mm diameter and 65mm length) batteries are the most common types used in this regard. They are a size classification of lithium batteries and have the same shape as the normal AA batteries, only that they are a bit larger. Sometimes they are referred to as 14599 because of their diameter.
So can you build a lithium battery pack, the answer is yes. These packs are used in application such as Power banks, solar generator, e-Bike, power wall and many other devices. And the best part is, building the battery pack is quite simple. You only need to put together a specific number of 18650 cells in series as well as parallel. The more batteries you use, the bigger the pack but you need to ensure safety, with a BMS addition.
What do you need to DIY lithium battery pack·
Building a lithium battery pack is an easy exercise, as discusses above. As long as you get everything in order, it can take you a very short time and you have your pack. Since the batteries are rechargeable, you have yourself a wonderful way to keep your power.
Here are the necessary tools for the exercise:
· Batteries. As already discussed about, get a number of 18650 batteries with you. You can buy them online from Amazon, or any other website that sell them.
· BMS. These can be bought online as well from Banggood or Amazon.
· Ni strips. One of the most important things to put in mind is how you will keep your batteries connected and that is where the Ni strips come in.
· Battery level indicators. Lithium batteries are very dangerous to handle. The Battery Level Indicators will show you exactly how much power you have and how much you need.
· A Rocker switch. Get a switch to ensure you have working power bank.
· DC jack, for charging purposes
· A battery holder for 18650 batteries
· Screws
You will also need several tools such as a spot welder, a 3D printer, a wire stripper/cutter, a hot air blower, a multimeter and a Li-ion battery. In addition, you need safety Goggles and electrical gloves.
How to DIY lithium ion batteries
Here are steps to DIY Li-ion batteries:
Step 1:- Select the right batteries. There are many types of 18650 batteries in the market today with different prices. If you want the best, buy batteries that are of high quality. Avoid anything with the word fire.
Step 2: Choose your strips. You will need to connect the batteries together and for that nickel strips are the best. Choose the strips based on the current rating.
Step 3:- Spot welding or soldering. How do you want to connect the 18650 batteries together· You have two options for this, either do it by soldering, or by welding. Soldering requires a lot of heat, and that is why spot welding was important. Spot welding gives your ability to join the batteries together safely.
Step 4: The cell voltage. It is very important to confirm the voltage of each individual battery. If you are arranging then in parallel, ensure the voltages are as close as possible. For new batteries, they should be between 3.5V and 3.7V.
Step 5: Capacity and Voltage. How much voltage do you need in your battery pack· Connecting the batteries in parallel gives the right capacity (mAh) while connecting parallel groups in series gives the voltage.
Step 6: Assembling your cells. By now, you should already know how many parallel groups you have. Arrange the groups in such manner that, the first parallel group of cells with positive up and the second with negative up. You can use hot glue to connect the pack together.
Step 7: Nickel strips spot welding. You can now bring in the spot welder. Start by cutting the nickel strips and weld them together with the batteries.
Step 8: Add the BMS. The battery management system (BMS) helps manage the functions of the pack. It is balancing units that ensure the pack functions properly. You can check online how to connect the BMS.
Step 9: Print the ensure using the 3D printer. This piece must cover all exposed nickel strips to avoid shorting.
Step 10: Wire the components. Normal batteries only have two terminal connecting the load and for charging. Wiring is as simple as insulating the conductive parts. You can use heat shrink tubing for this while soldering the wires to the BMS.
Step 11: Final Assemble. Now put the components in your printed enclosure. Solder the positive from the DC jack and the rocker switch to the P+ on the BMS. The negative from the DC jack goes to the P- on the BMS. Now you can screw the top lids on and you are ready to use your battery pack.
Now your lithium battery pack is complete. You can charge it using a good charger from online stores like Amazon and eBay.
- Prev Article: Demystify TSA lithium batteries 2019
- Next Article: How do you deal with 18650 battery in store?
Leave Message
Hottest Categories
-
Hottest Industry News
-
Latest Industry News


